


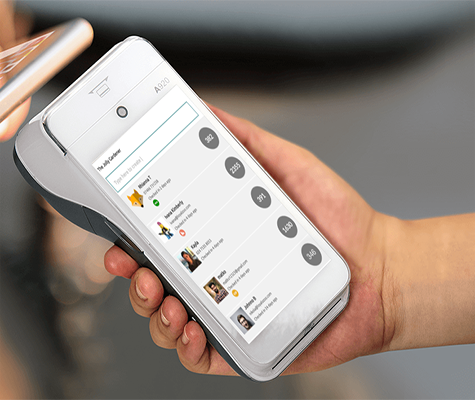
How do you make a sale?
1. Select the item group from the list on the left hand pane
2. Select an item from the list in the centre pane
3. Repeat if required
4. Select subtotal from the right hand pane
5. Select payment method from the right hand pane
How do you error correct/ cancel /no sale?
There are 3 buttons on the till on the right hand pane:
1. During a transaction, select the PLU to be removed from the order list.
2. By default, the last entered PLU is removed if no PLU is manually selected.
3. Select the Error Correct or Void button to remove this PLU.
4. Selecting the Cancel button to clear all items and cancel the sale.
5. Selecting the No Sale will open the till Draw
How do you add items to the till?
1. Select Home Button
2. Select Programming button
3. Select All Prog.
4. Select PLU.
5. Select PLU again.
6. Select a blank PLU or choose to overwrite an existing one.
7. Descriptor is the name of the PLU.
8. 1st @ Price is the standard price of the PLU.
9. 2nd @ Price is the first modifier price of the PLU.
10. 3rd @ Price is the second modifier price of the PLU.
11. Department Link is the Department that this PLU belongs to.
12. PLU Group Link is the PLU Group that this PLU belongs to.
13. Tax Rate should be set to the current VAT rate for the PLU.
14. Quantity of 1st @ Price is the amount of an item when sold at its standard price.
a. E.g. A pint would be 1.00.
15. Quantity of 2nd @ Price is the amount of an item when sold at its second modifier price.
a. E.g. A half pint would be 0.50.
16. Alt text for modifier is the text that should be displayed on the item summary when the above modifier is used.
a. E.g. The alt text for a half pint would be, “HALF ”
17. Quantity of 3rd @ Price is the amount of an item when sold at its third modifier price.
a. E.g. A double measure of a spirit would be 2.00.
18. Alt text for modifier is the text that should be displayed on the item summary when the above modifier is used.
a. E.g. The alt text for a double measure of a spirit would be, “DOUBLE ”
19. Print to KP1 sets that item to have a ticket printed on the kitchen printer if required.
How do you do X&Y Reports?
End of Day & Reports
1. From the HOME screen click on End of Day.
2. Select X Mode Reports to view reports that will not clear the day’s sales.
3. Select Z Mode Reports to view reports that will clear the day’s sales.
How do you start the till & Shut down the Till?
To start the till there is a button under the screen, bottom right hand side.
To close the till
1. Select Home button
2. Select Close Till Down
How do you change colours of buttons?
Select Programming.
Select Keyboard.
Keyboard programming toolbar.The bottom, left bar labelled Bk Clr indicates the colour of the currently selected object.
Click this button to select colour.
Click X Button in top right to exit
How do you change logos & Backgrounds?

Keyboard programming toolbar.
1. Select Programming.
2. Select Keyboard.
3. Click the Button Image
4. Select image
5. Click X Button in top right to exit
How do you open tables/checks?
Table Plan & Features
The table plan is an easy to use feature.
- Click Table Plan.
- Select a table and click Open.
- Put through the order as
- Click New Balance to save the order to the
- To continue this tab, click Table Plan, select the table and click Open.
- Either repeat the New Balance process from above…
- … Or click one of the finalise buttons to complete and pay for the
Covers
Unlike some of the other Table Plan features, this will need to be set up as its own button.
- Click Programming.
- Select All Prog.
- Select Function Keys.
- Select Status Key.
- Select a blank transaction
- Set Key Type to Covers.
Add this button to the screen using Keyboard Programming, to use it:
- Click Table Plan.
- Select a table and click Open.
- Click Covers and enter the number of covers at that
- Continue with the transaction as
Print Bill
- Click Table Plan.
- Select a table and click Open.
- Put through the order as
- Click New Balance to save the order to the
- Click Table Plan, select the table and click Bill.
Split Bill
- Click Table Plan.
- Select a table and click Open.
- Put through the order as
- Click New Balance to save the order to the
- Click Table Plan, select the table and click Split.
- Use the arrow keys to transfer the selected items in the Table No into the Current Sale.
- With the items to be paid for in the Current Sale window, click Exit.
- Use one of the finalise buttons to complete and pay for this portion of the order.
Where do I get till rolls from & how do I fit them?
We can supply till rolls or they can be purchased from most stationary suppliers. Click the button below.
To fit till roles
- Press button on right hand side of printer to open
- Insert till roll in direction shown with paper protruding from the underside of the roll.
